You ve updated your basket.
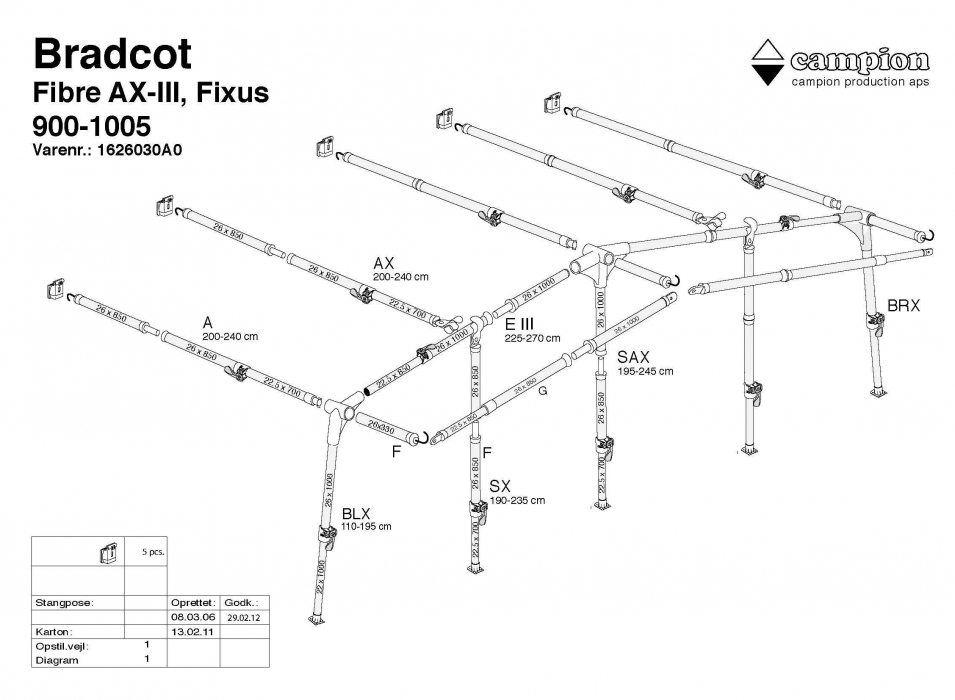
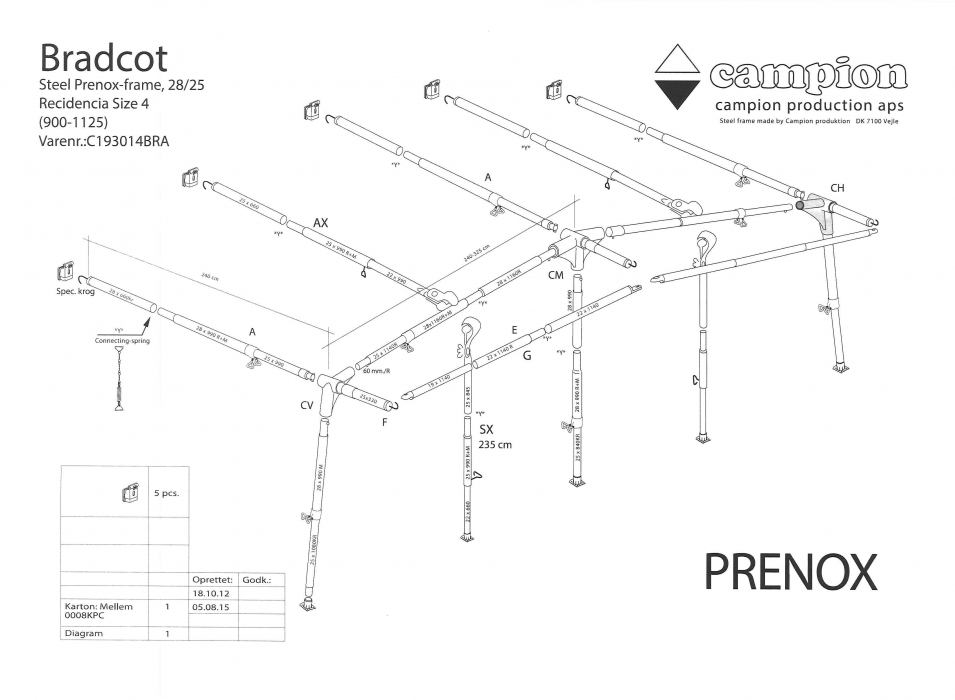
Bradcot porch awning instructions.
As premier awning manufacturers we pride ourselves on delivering durable reliable and stylish caravan awnings for sale suited to every lifestyle family and need.
Place pegs along the bottom of the awning using the hammer.
Whether you use your new purchase for relaxing in storing sporting equipment or simply as an entrance area you can be confident in the reliability of canopy and porch awnings from bradcot awnings online.
Start with the centre support pole then move to the outer poles and finally the poles on the roof.
2006 bradcot sport 840 930cm.
2006 bradcot sport 1020 1050cm.
Modul air v2 full awning innov air aspire classic 50 residencia 50 annexe add ons view latest caravan awning collection.
Modul air v2 full awning innov air aspire classic 50 residencia 50 annexe add ons view latest caravan awning collection.
Sure it will be easy but i would feel better with some instructions.
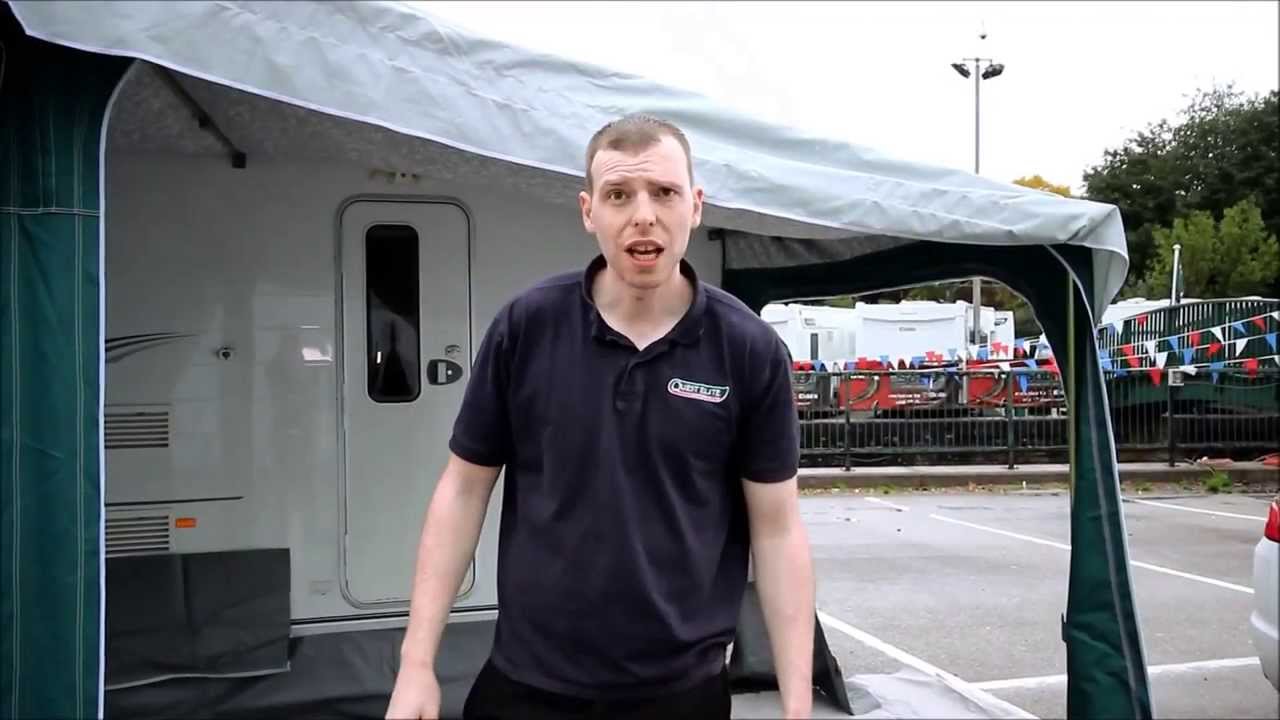
Click to learn how to erect your bradcot awning.
Next place pegs on all the corners.
General spares air awning spares aluminium frame spares steel fibre frame spares view all.
Cant get in touch with bradcot by phone or email.
General spares air awning spares aluminium frame spares steel fibre frame spares view all.
Clearance modus xl 3 6mtr wide porch awning patent pending no 1102970 9 modus 3 60mtr wide porch awning.
View bradcot s latest collection of caravan awnings online for sale in a wide range of colours styles and sizes below.
Pearl charcoal only image shown is the modus xl 2 4mtr wide porch awning with a modus xl 1 2mtr wide extension attached.
Start this process at the ends of the caravan.
Modul air v2 full awning innov air aspire classic 50 residencia.
Does anyone have some instructions that they would be willing to email me.
With smart and trustworthy canopy and porch awnings from us you can expand outside of your caravan and make the most of the great outdoors.
I have just purchased a second hand bradcot portico plus porch awning without instructions.
Items 00 0000 00.
Tension all the poles by pulling them to the appropriate length for support.
Click the button for each model.